
The Safety Helmet Inspection Checklist is a comprehensive tool designed to ensure that helmets, our primary defense against head injuries, are always in peak condition. This checklist, which encompasses a systematic evaluation of various helmet components, is crucial in determining the helmet’s overall health and its ability to provide the necessary protection.
In this blog, we will delve deep into the intricacies of this checklist, emphasizing its importance and guiding you through each step to ensure that your safety helmet remains a reliable shield against potential hazards. Whether you’re a professional in a high-risk industry or an avid cyclist, understanding and regularly employing this checklist can be a game-changer for your safety regimen.
What Is the Safety Helmet Inspection Checklist?
A Safety Helmet Inspection Checklist is a systematic tool used to assess the condition and effectiveness of safety helmets. It ensures that helmets are in optimal condition, providing the necessary protection to the wearer. The checklist typically covers various aspects of the helmet, from its physical condition to its fit and any associated components.
Importance of the Safety Helmet Inspection Checklist:
- Ensuring Maximum Protection: Ensuring Maximum Protection: Helmets are designed to protect the wearer from head injuries. A damaged or deteriorated helmet might not provide the necessary protection during an accident or impact. In industries where hard hat colors are used to identify roles or safety clearance levels, it’s crucial to ensure each helmet is in good condition.
- Compliance with Regulations: In many industries and regions, regular safety helmet inspections are mandated by law or regulations. Using the checklist ensures compliance with these rules.
- Extending Helmet Lifespan: Regular inspections and subsequent maintenance can extend the effective lifespan of a helmet, ensuring it remains protective for longer.
- Cost-Efficiency: By regularly inspecting and maintaining helmets, organizations can avoid the costs associated with frequent replacements or potential liabilities from accidents due to faulty helmets.
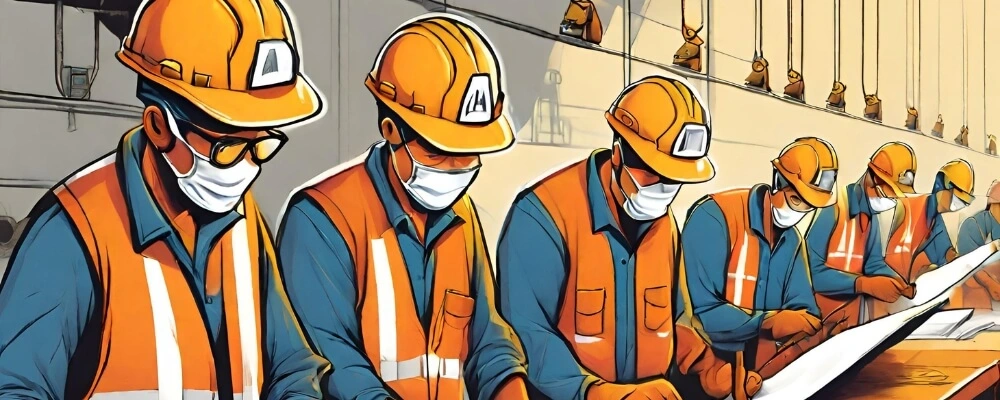
- Promoting a Safety Culture: Regular helmet inspections emphasize the importance of safety in an organization, fostering a culture where safety is prioritized.
A Safety Helmet Inspection Checklist is a vital tool in ensuring that helmets, a critical piece of personal protective equipment (PPE), are always in a condition to offer maximum protection. Regular inspections not only ensure the safety of the individual wearer but also contribute to the overall safety culture of an organization or group.
What Are the Key Elements of A Helmet Inspection Checklist?
A comprehensive helmet inspection checklist is designed to ensure the safety and effectiveness of a helmet. The key elements of such a checklist typically include:
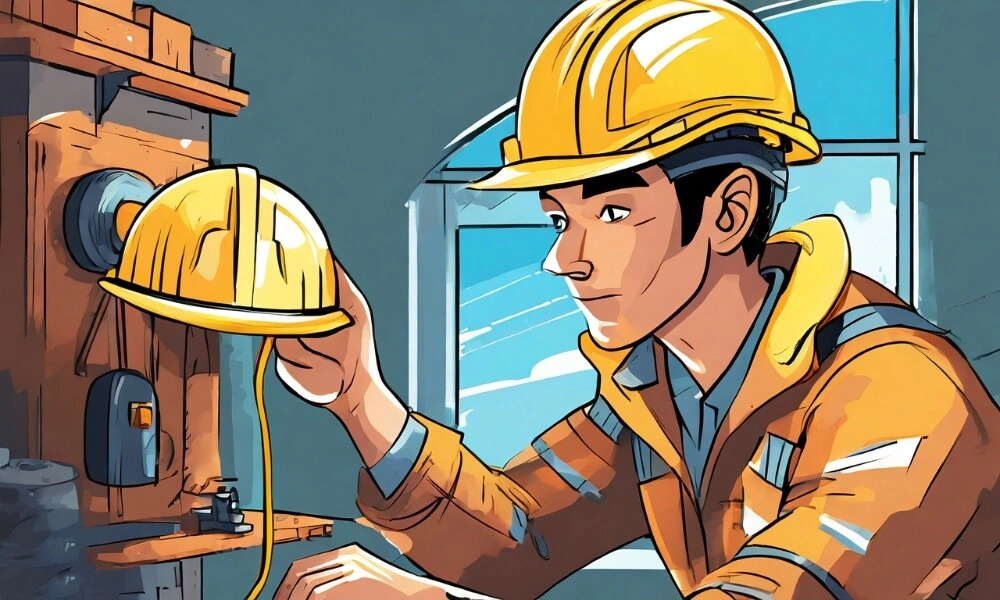
1. Checking the Helmet Shell for Cracks or Damage
The helmet shell is the primary protective barrier between the wearer’s head and potential external hazards. It’s designed to absorb and distribute the force of impacts, thereby reducing the risk of injury.
- Depending on the helmet’s material (e.g., polycarbonate, fiberglass, or carbon fiber), it’s essential to understand the common wear and tear signs. Some materials might develop hairline cracks, while others may chip or dent.
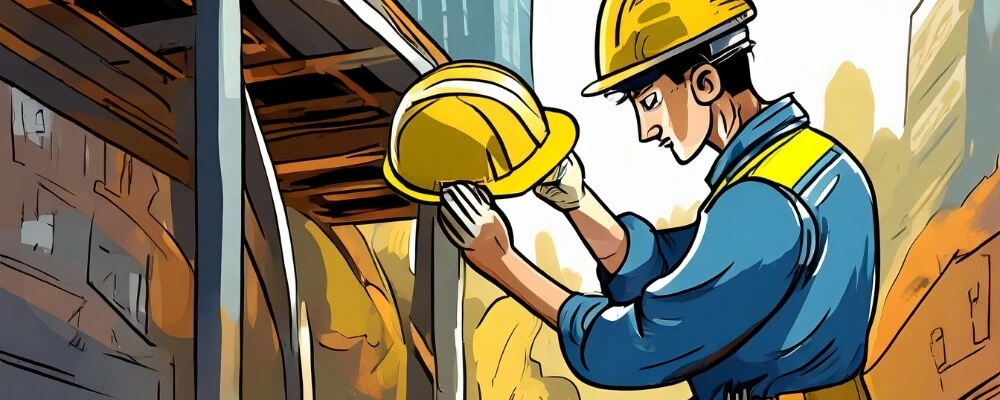
- Look for any visible cracks, dents, or deformities. Even small cracks can significantly reduce the helmet’s protective capabilities.
- Feel the helmet’s surface with your hands. Sometimes, deformities might be more easily felt than seen.
- If the helmet has been involved in a significant impact, even if there’s no visible damage, its structural integrity could be compromised. It’s often recommended to replace a helmet after a severe impact.
2. Inspecting the Helmet Straps and Buckles
Straps and buckles ensure the helmet remains securely on the wearer’s head during an accident. A helmet that can easily come off is ineffective, no matter how robust the shell is.
- Helmet straps are typically made of durable materials like nylon. Over time, these materials can degrade due to factors like UV exposure, sweat, and general wear.
- Look for signs of fraying, tearing, or excessive stretching. Check the buckles for any cracks or breakages.
- Fasten and unfasten the buckles several times to ensure they’re working correctly. The straps should be adjustable to allow for a snug fit without being overly tight.
- Once adjusted, the helmet should sit firmly on the head. The strap should be tight enough to fit two fingers between the strap and the chin comfortably.
3. Examining the Condition of The Headband:
The headband plays a dual role: it provides comfort by distributing the helmet’s weight evenly across the head, and it ensures the helmet remains stable, preventing it from shifting or coming off.
- Depending on the helmet type, headbands can be made of various materials, including foam, fabric, or even gel. These materials can degrade over time due to sweat, UV exposure, or general wear.
- Look for signs of deformation, such as areas where the padding has flattened or where the fabric might be tearing.
- Wear the helmet and assess the comfort level. Any discomfort, especially pressure points, could indicate issues with the headband.
- Some helmets come with adjustable headbands. Ensure that the adjustment mechanism, whether it’s a dial, Velcro, or another system, is functioning correctly.
In conclusion, a helmet’s protective capabilities are only as good as its condition. Regular and thorough inspections ensure that every component of the helmet is in optimal working condition, providing the wearer with the best possible protection.

How to Perform a Thorough Helmet Inspection?
Performing a thorough helmet inspection is vital to ensure its optimal condition and effectiveness in providing protection. Here’s a step-by-step guide on how to conduct a comprehensive helmet inspection:
1. Following the Manufacturer’s Inspection Guidelines:
Every helmet is designed with specific materials, features, and construction methods. The manufacturer, being intimately familiar with these details, provides guidelines that cater to the unique aspects of their product.
- User Manual: Always refer to the user manual or guide that comes with the helmet. This manual will contain specific points of inspection tailored to the helmet’s design.
- Online Resources: If you’ve misplaced the manual, many manufacturers offer digital versions on their websites or provide dedicated inspection guides.
- Warranty Information: The guidelines might also include information about the warranty, which can be useful if you discover defects or issues during the inspection.
2. Using a Checklist to Ensure All Necessary Steps Are Carried Out:
A systematic approach to inspection ensures that you don’t overlook any critical components. A checklist serves as a roadmap, guiding you through each step and ensuring consistency.
- Preparation: Before starting the inspection, gather all the necessary tools or equipment you might need, such as a flashlight for better visibility or a cloth to clean the helmet.
- Component-by-Component: Organize your checklist by helmet components, such as the outer shell, inner padding, straps, buckles, and ventilation system. This organization ensures a thorough examination of each part.
- Documentation: As you go through the checklist, make notes of any issues or concerns. This documentation can be useful for future reference or if you need to contact the manufacturer regarding defects.
3. Checking the Date of Manufacture and Expiry:
Like many safety equipment pieces, helmets have a lifespan beyond which their protective qualities can degrade, even if there’s no visible damage.
- Locating the Date: Most helmets have a date of manufacture printed inside, often on a sticker or label. This date provides a starting point to determine the helmet’s age.
- Understanding Lifespan: Different helmets have different lifespans, which can vary based on materials used, construction, and intended use. For instance, many bicycle helmets are recommended to be replaced every 3-5 years, while some industrial helmets might have different timelines.
- Factors Affecting Lifespan: While there’s a general guideline for replacement, factors like exposure to UV rays, chemicals, or significant impacts can shorten a helmet’s effective lifespan. Always consider the helmet’s history and storage conditions when evaluating its condition.
A helmet inspection is more than a cursory glance. It’s a detailed process that, when done systematically and regularly, ensures the wearer’s safety. By adhering to manufacturer guidelines, using a structured checklist, and being aware of the helmet’s age and history, you can ensure that the helmet remains in optimal condition to protect its wearer effectively.
What Are the Care and Maintenance Tips for Helmets?
Proper care and maintenance of helmets are crucial to ensure they provide the maximum protection for which they were designed. Let’s delve deeper into the care and maintenance tips you’ve mentioned:
1. Keeping the Helmet Clean and Free from Debris:
Dirt and debris can mask damages or weak points in the helmet. Moreover, accumulated dirt can degrade the materials over time, especially if there are corrosive substances involved.
- Cleaning Frequency: While the helmet should be cleaned after any significant exposure to dirt or sweat, a general rule is to give it a thorough cleaning every few months or after intensive use.
- Cleaning Process: Use lukewarm water with a mild soap or a specialized helmet cleaner. Avoid harsh chemicals or abrasive materials. Gently scrub the exterior and interior with a soft cloth or sponge. For the interior, especially if it’s padded, ensure it’s thoroughly rinsed to remove soap residues.
- Drying: After cleaning, let the helmet air dry. Avoid direct sunlight or using heaters, as extreme temperatures can degrade the helmet materials.
2. Storing the Helmet in a Safe and Dry Place:
Proper storage ensures the helmet retains its structural integrity and protective qualities. Factors like UV rays, extreme temperatures, and moisture can degrade the materials over time.
- Storage Location: Choose a cool, dry place away from direct sunlight. Basements, garages, or sheds might not always be ideal due to humidity or temperature fluctuations.
- Storage Position: Store the helmet with the crown facing up to maintain its shape. Avoid placing heavy objects on top of it.
- Protective Bag or Cover: If available, use a protective bag or cover to shield the helmet from dust and accidental scratches.
3. Replacing Damaged or Worn-Out Parts:
A helmet is a sum of its parts. Even if the main shell is intact, damaged straps or buckles can compromise the helmet’s effectiveness during an accident.
- Regular Inspection: Frequently check all components, including straps, buckles, headbands, and any ventilation mechanisms, for signs of wear or damage.
- Replacement Parts: Always use replacement parts from the same manufacturer and ensure they are compatible with your helmet model. This ensures that the parts fit correctly and maintain the helmet’s protective qualities.
- Seek Expert Advice: If unsure about the extent of wear or damage, consult with the manufacturer or a specialist. Some damages might not be visible to the naked eye but can still compromise safety.
In conclusion, a helmet’s longevity and effectiveness are directly influenced by how it’s cared for. Regular cleaning, proper storage, and timely replacement of worn-out parts ensure that the helmet remains in optimal condition, ready to provide maximum protection when needed.
Why Is a Proper Helmet Fit Essential for Safety?
A proper helmet fit is paramount for ensuring maximum safety for several reasons:
1. Ensuring a Secure and Comfortable Fit:
The primary purpose of a helmet is to protect the wearer’s head from potential impacts. For it to serve this purpose effectively, it must remain securely in place during any unforeseen incidents.
- Snug Fit: A well-fitting helmet will encompass the head snugly, ensuring even distribution of any impact force. This reduces the risk of localized injuries.
- Comfort: While safety is paramount, comfort is also essential. A comfortable helmet ensures that the wearer keeps it on for extended periods without feeling the need to remove or adjust it frequently, which can be distracting.
2. Avoiding Potential Risks and Injuries Due to an Ill-fitting Helmet:
An ill-fitting helmet can be as dangerous, if not more so, than not wearing one at all. It can give a false sense of security while not providing the intended protection.
- Risk of Coming Off: A loose helmet can easily come off during an accident, leaving the head exposed to direct impact.
- Pressure Points: A helmet that’s too tight might create pressure points, leading to discomfort or even headaches. This can be distracting, especially for tasks that require concentration.
- Impaired Vision or Hearing: An improperly fitting helmet might slide down, obstructing vision, or might not sit correctly around the ears, affecting hearing.
3. Following Fitting Instructions Provided by the Manufacturer:
Manufacturers design helmets based on extensive research and testing. Their fitting instructions are based on ensuring that the helmet provides the maximum protection it was designed for.
- Size Guides: Many manufacturers provide size charts that correlate head measurements to helmet sizes. It’s essential to measure the head’s circumference and choose the size accordingly.
- Adjustment Features: Modern helmets often come with adjustment features, such as dials or straps, to fine-tune the fit. It’s crucial to familiarize oneself with these features and use them to achieve the best fit.
- Fit Testing: After following the manufacturer’s instructions, wearers should conduct a fit test. This can include shaking the head to ensure the helmet doesn’t shift easily, ensuring the field of vision is clear, and checking that straps and buckles are secure without pinching.
In conclusion, the fit of a helmet is intrinsically linked to its protective capabilities. An ill-fitting helmet can compromise safety, while a well-fitting one can significantly reduce the risk of injuries during accidents. It’s not just about wearing a helmet; it’s about wearing it right.