

When it comes to working with belt sanders, ensuring both efficiency and safety is of utmost importance. From selecting the appropriate switches to following essential safety rules, taking the necessary precautions can make a significant difference in the outcome of your sanding projects and, most importantly, your well-being.
In this blog post, we will delve into the world of belt sanders, focusing on two critical aspects: selecting appropriate switches for these powerful tools and the essential safety rules that should be followed to minimize the risk of accidents. By understanding the importance of both switches and safety measures, you can maximize the effectiveness of your belt sander while ensuring a safe and secure work environment.
Firstly, we will explore the various types of switches commonly used for belt sanders. From reliable toggle switches to user-friendly paddle switches, we will discuss their features, benefits, and considerations for choosing the right switch for your specific belt sander needs. By understanding the different options available, you can make an informed decision and ensure that your chosen switch can handle the power requirements of your tool.
In the second part of this blog, we will emphasize the significance of safety when working with belt sanders. We will outline essential safety rules that should be followed to protect yourself and those around you. Covering topics such as personal protective equipment, workpiece preparation, proper sanding techniques, and maintenance practices, this section aims to provide comprehensive guidance to minimize the risks associated with belt sanding operations.
Belt Sanders
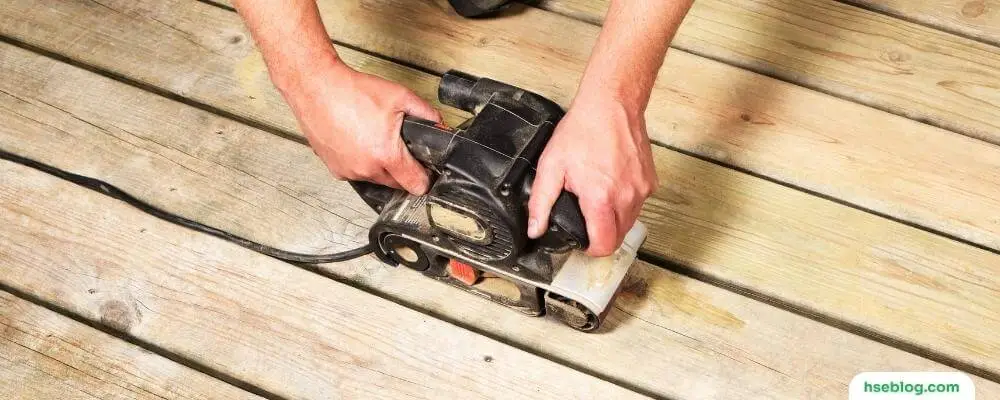
Belt sanders are power tools used for shaping and finishing materials, predominantly wood. These tools utilize an electric motor to turn a pair of drums on which a continuous loop of sandpaper, known as a sanding belt, is mounted. The rapid movement of the sanding belt enables the tool to remove material from surfaces efficiently.
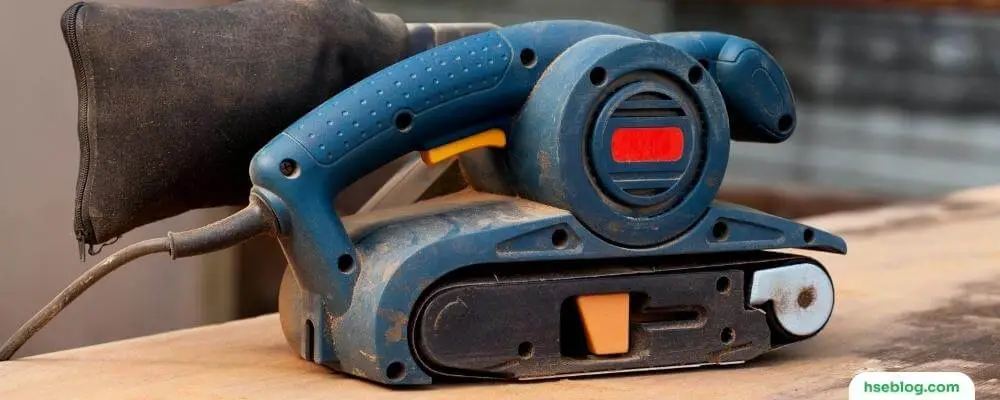
Components Of Belt Sanders
- Electric Motor: The heart of the belt sander is its electric motor, which provides the power needed to rotate the drums and, in turn, the sanding belt.
- Drums are the two cylindrical parts on which the sanding belt is mounted. The drums rotate when the motor is powered, causing the sanding belt to spin rapidly.
- Sanding Belt: This is a continuous loop of abrasive paper stretched over the drums. The sanding belt is available in various coarse and fine grits depending on the required finish.
- Handle and Control: Belt sanders usually have a handle and control system that allows the user to guide the tool and apply pressure where necessary.
Types Of Belt Sanders
- Handheld Belt Sanders: These are portable and are usually used for jobs like smoothing rough surfaces, shaping, and trimming. They are good for tasks that require mobility or where the material to be sanded cannot be moved easily.
- Stationary Belt Sanders: Also known as bench sanders, these are mounted to a workbench or table. The material is brought to the sander rather than the sander to the material. These are ideal for precision work.
Uses Of Belt Sanders
- Material Removal: With their powerful motors and coarse grits, belt sanders are excellent for quickly removing a lot of material. This makes them perfect for tasks like stripping paint or evening out rough lumber.
- Surface Leveling: Belt sanders can be used to level surfaces, for instance, ensuring a hardwood floor replacement board is flush with the surrounding boards.
- Shaping and Finishing: These tools are also utilized for shaping material. For example, rounding the edges of a piece of wood or creating contours.
- Smoothing: With finer grits, belt sanders can smooth surfaces in preparation for painting or staining.
Appropriate Switches For Belt Sanders
Regarding the appropriate switches for belt sanders, there are typically two main types: trigger switches and paddle switches. The specific switch type and design may vary depending on the brand and model of the belt sander. Here’s a breakdown of each switch type:
| Switch Type | Description |
|---|---|
| Toggle Switch | Durable and easy to operate, suitable for most belt sanders. |
| Paddle Switch | Large paddle-shaped button, convenient for quick on/off control and enhanced safety. |
| Magnetic Switch | Provides additional safety by automatically shutting off power in case of emergencies. |
| Emergency Stop Button | Offers a quick and easily accessible way to stop the belt sander immediately. |
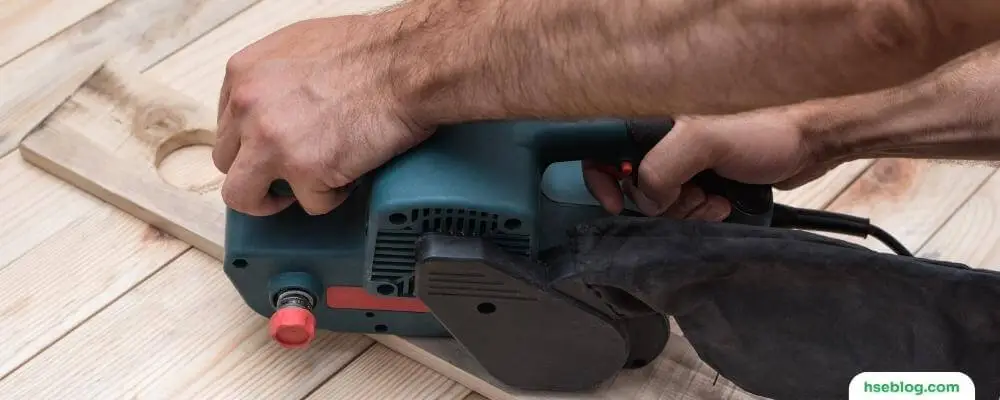
- Trigger Switch: This is the most common type of switch on belt sanders. It is typically a small lever or button near the tool’s handle. Pressing the lever or button activates the switch, and releasing it turns the tool off. Trigger switches are often designed to be operated with one hand, allowing for easy control and operation of the sander.
- Paddle Switch: Some belt sanders feature a paddle switch instead of a trigger switch. A paddle switch is a large, flat switch typically positioned on top of the tool. Press the paddle with your hand or fingers to turn on the sander, and releasing it turns the tool off. Paddle switches are often favored for their ease of use, especially when quickly shutting off the tool in an emergency.
Trigger and paddle switches are designed to provide convenience and safety during operation. When choosing a belt sander, consider your personal preference for switch type and ensure that the switch is easy to operate and in a location that allows for comfortable use. Additionally, always follow the manufacturer’s instructions and safety guidelines when using any power tool, including belt sanders.
Belt Sanders Safety Rules
When using a belt sander, it’s essential to prioritize safety to prevent accidents and injuries. Here are some important safety rules to follow when operating a belt sander:
- Read the Manual: Familiarize yourself with the manufacturer’s instructions and safety guidelines provided in the manual. Follow all recommended procedures and precautions specific to your belt sander model.
- Wear Personal Protective Equipment (PPE): Always wear appropriate PPE to protect yourself from hazards. This includes safety glasses or goggles to shield your eyes from flying debris, a dust mask or respirator to prevent inhalation of dust particles, and hearing protection to reduce noise exposure.
- Secure the Workpiece: Ensure that the workpiece is properly secured before sanding. This can be done using clamps, a vise, or other appropriate methods to prevent it from shifting or moving during operation.
- Maintain a Stable Work Surface: Ensure the work surface is stable and secure. If using a handheld belt sander, maintain a firm grip on the tool with both hands and a stable stance.
- Check the Sanding Belt Condition: Inspect the condition of the sanding belt before use. Ensure it is properly aligned, tightened, and free from damage or defects. Replace worn-out or damaged belts as needed.
- Start Off Slowly: When turning on the belt sander, start at a low speed and gradually increase it to the desired level. This allows you to maintain better control over the tool and prevents sudden jerks or movements.
- Work with the Grain: When sanding wood, always work with the grain to achieve smoother and more even results. Sanding against the grain can cause splintering and rough finishes.
- Avoid Excessive Pressure: Let the belt sander’s weight and the speed of the sanding belt do the work. Avoid applying excessive downward pressure, leading to uneven sanding, overheating, and potential kickback.
- Keep Hands and Fingers Clear: Keep your hands and fingers away from the sanding area and out of the path of the moving belt. Never attempt to adjust or change the belt while the sander is running.
- Use Proper Ventilation: Belt sanding generates a significant amount of dust. Ensure you have adequate ventilation or work in a well-ventilated area to prevent the buildup of airborne particles. Consider using dust extraction systems or wearing a dust mask to minimize exposure.
- Disconnect Power: Before performing any maintenance or adjustments on the belt sander, disconnect the power source or unplug the tool to prevent accidental startup.
- Store Safely: When not in use, store the belt sander in a safe and secure location, out of the reach of children and away from any potential hazards.
Remember, safety should always be your top priority when operating any power tool, including belt sanders. By following these safety rules and using common sense, you can minimize the risk of accidents and work more confidently with your belt sander.
In conclusion, selecting the appropriate switches for belt sanders and adhering to essential safety rules are paramount when working with these powerful tools. You can ensure reliable operation and ease of use by choosing durable and compatible switches, such as toggle switches or paddle switches. Additionally, following safety guidelines, such as wearing proper PPE, securing workpieces, using correct sanding techniques, and maintaining a stable work environment, significantly reduces the risk of accidents and promotes a safe sanding experience.