Soil is often called the skin of the Earth – a precious resource that plays an integral role in our ecosystem and daily lives. Whether you’re a farmer seeking to maximize crop yield, a builder assessing the foundation for construction, or a gardener aspiring to cultivate a lush landscape, understanding the ground beneath is fundamental. This blog post will dive into the wonderful world of soil analysis. Soil testing is not just digging up a handful of dirt; it’s a science that offers invaluable insights into the composition and properties of the soil.
This article will focus on two principal approaches to soil testing: visual and manual methods. Visual testing will be introduced as a fast and convenient way to gauge the general condition of the soil by examining its physical attributes. Manual testing, on the other hand, delves deeper, offering a more detailed analysis of the soil’s characteristics. Whether you are a professional in agriculture or construction or simply an enthusiast looking to know your soil better, this blog post is designed to equip you with the knowledge and tools you need to conduct effective soil testing. Let’s unearth the secrets that lie beneath our feet!

Importance Of Soil Testing
Soil testing is critical in agriculture, construction, environmental science, and land management. It provides essential information on the physical and chemical properties of the soil, which can greatly impact plant growth, building structures, and environmental health. Here are the reasons why soil testing is important:
- Optimizing Crop Production: Through soil testing, farmers can gauge the fertility of their soil and its ability to supply essential nutrients to crops. Knowing the nutrient content and pH levels helps make informed decisions regarding the type and amount of fertilizers required for optimal crop yield.
- Protecting the Environment: Over-applicating fertilizers and other chemicals can harm the environment. Soil testing allows for the precise application of nutrients, which benefits crop yield and minimizes runoff and leaching of chemicals into nearby water sources, thus reducing pollution.
- Diagnosing Soil Problems: Soil testing helps identify issues such as soil compaction, contamination, salinity, or imbalances in nutrient levels. Early detection of these problems allows for timely intervention and management.
- Saving Money: By knowing what nutrients are needed, farmers and gardeners can avoid unnecessary spending on fertilizers and other soil amendments. This also reduces wastage and makes agricultural practices more sustainable.
- Improving Soil Health: Regular soil testing allows for the monitoring and maintaining soil health over time. This is essential for sustainable agriculture and ensuring that the land remains productive for future generations.
- Ensuring Safe Construction: In construction, soil testing is vital for assessing the suitability of the soil for building purposes. It provides information on the bearing capacity, compaction, and stability of the soil, which are critical factors in ensuring the structural integrity of buildings and preventing collapses.
- Land Use Planning: Soil testing is crucial for land-use planning and management. It helps determine the best uses for a particular piece of land, whether for agriculture, construction, or preservation as green space. This aids in sustainable development and responsible use of natural resources.
- Reclaiming Degraded Land: Soil testing can also play a crucial role in the reclamation of degraded or contaminated land. By understanding the composition and properties of the soil, proper measures can be implemented to rehabilitate the land and make it suitable for agriculture or other purposes.
- Gardening and Landscaping: For home gardeners and landscapers, soil testing helps select the right plants to thrive in the existing soil conditions. It also guides them in amending the soil to create a more hospitable environment for the desired plants.
- Research and Education: Soil testing is a fundamental tool in research and education. It enables scientists to understand soil processes and characteristics. This knowledge contributes to developing new agricultural practices, environmental protection strategies, and construction materials.
In summary, soil testing is an indispensable tool that informs decision-making in various fields, contributing to food security, environmental protection, safe infrastructure, and sustainable land use.

Soil Testing Methods | Visual and Manual Soil Testing Methods
Soil testing is an essential process used to evaluate the properties and characteristics of soil for various purposes, such as agriculture, construction, and environmental studies. Visual and manual soil testing methods are commonly employed to assess soil conditions. Let’s explore these methods in more detail:
1. Visual Soil Test
Visual tests are an important part of soil testing and can provide valuable insight into the condition of the soil. Visual tests involve examining a sample of soil’s appearance and physical characteristics. They can identify problems with soil texture, colour, compaction, drainage, surface crusting, salinity levels, nutrient levels, pH and more.
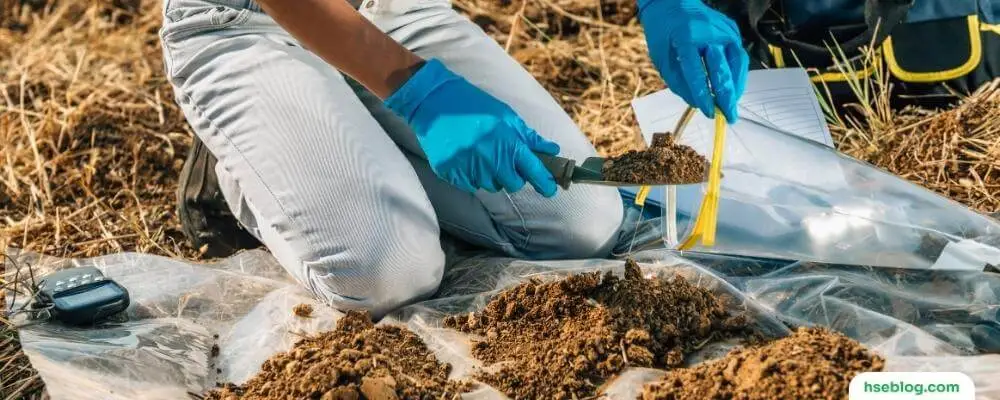
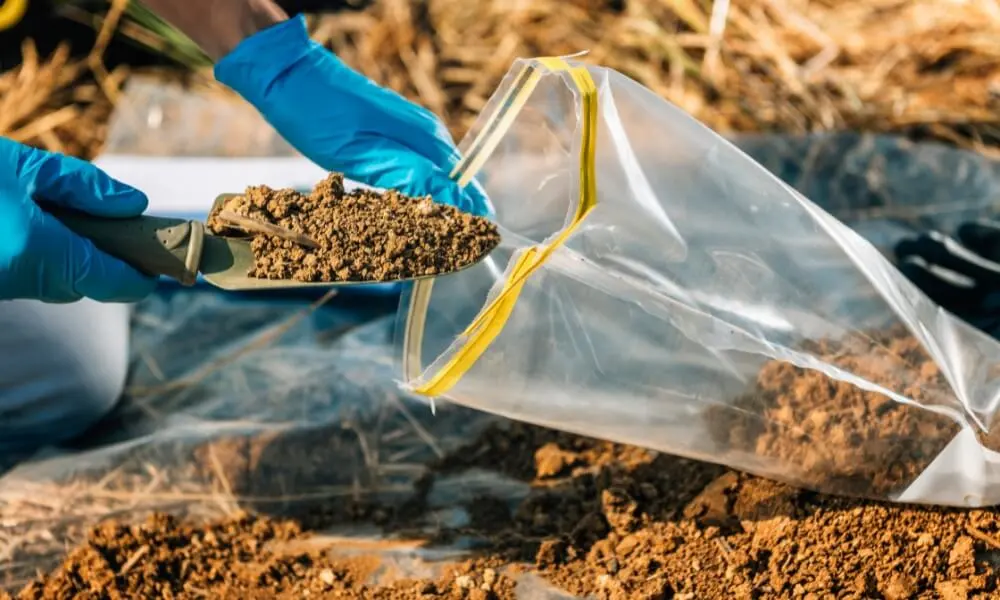
Collecting a soil sample from the area of interest is important to conduct a visual test. The sample should be taken in an area representative of the rest of the soil in that location. A shovel or garden trowel can take a sample of about one pint. The surface layer should be scraped away, and the sample should be placed in a clean, dry container.
Visual testing involves looking at the soil and the area around the excavation site for signs of instability. The competent person might do visual tests such as the following:
- Observe the soil as it is excavated. Soil that remains in large clumps when excavated may be cohesive. Soil that breaks up easily is granular.
- Examine the particle sizes of excavated soil to determine how they hold together.
- Look for cracks or fissures in the faces of the excavation.
- Look for layers of different soil types and the angle of the layers in the face of the excavation that may indicate instability.
- Look for water seeping from the sides of the excavation.
- Look for signs of previously disturbed soil from other construction or excavation work. Consider vibration from construction activity or highway traffic that may affect the stability of the excavation.

2. Manual Soil Test
Manual testing involves evaluating a soil sample from the excavation to determine qualities such as cohesiveness, granularity, and unconfined compressive strength. Soil can be tested on-site or off-site but should be tested as soon as possible to preserve its natural moisture.
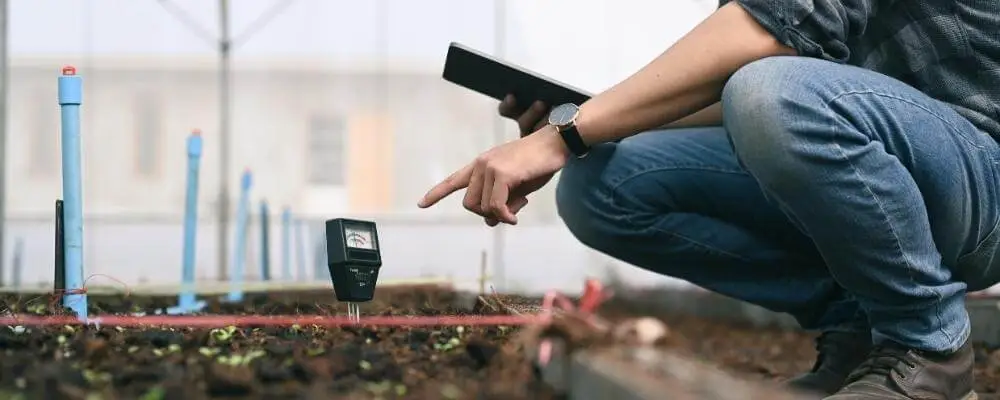
Manual soil test methods are widely used to determine soil samples’ physical and chemical properties. These tests indicate a soil sample’s composition, fertility, pH, etc. Manual tests can be done on-site with basic tools such as trowels and spoons or in a laboratory using specialized equipment.
Manual Test Examples
- Plasticity test: This is sometimes called the “pencil test.” Shape a moist soil sample into a ball and try to roll it into threads about 1/8-inch in diameter. Cohesive soil will roll into 1/8-inch threads without crumbling.
- Dry strength test: Hold a dry soil sample in your hand. If the soil is dry and crumbles on its own or with moderate pressure into individual grains or fine powder, it’s granular. If the soil breaks into clumps that are hard to break into smaller clumps, it may be clay combined with gravel, sand, or silt.
- Thumb penetration test: This test roughly estimates the unconfined compressive strength of a sample. Press your thumb into the soil sample. If the sample resists hard pressure, it may be type A soil. If it’s easy to penetrate, the sample may be type C.
- Pocket penetrometers: offer more accurate estimates of unconfined compressive strength. These instruments estimate the unconfined compressive strength of saturated cohesive soils. When pushed into the sample, an indicator sleeve displays an estimate in tons per square foot or kilograms per square centimetre.
Conclusion
In conclusion, understanding the intricacies of soil is fundamental for various applications ranging from agriculture to construction. Through visual and manual soil testing methods, we can gain invaluable insights into the physical and chemical properties of the soil. Visual tests serve as a quick assessment tool, whereas manual tests provide a more in-depth analysis. Combining these methods ensures a holistic understanding, paving the way for informed decision-making and sustainable practices. Whether you are a farmer, builder, or gardener, embracing soil testing is a step towards optimizing productivity and safeguarding our precious natural resources.

