

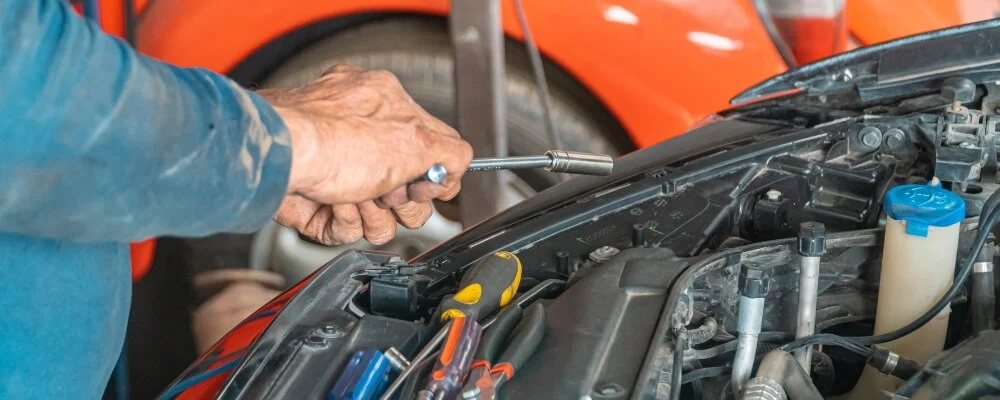
Tools are silent partners in craftsmanship, construction, and countless professions, assisting artisans and workers in achieving precision, efficiency, and safety. However, like any reliable partner, tools, too, need regular check-ups to ensure they are at their best. Whether you’re a seasoned professional or someone just beginning to understand the importance of tool maintenance, this blog will guide you through the meticulous process of inspecting tools, shed light on the undeniable benefits of regular inspections, and arm you with a detailed 20-point checklist to ensure your tools remain in impeccable shape.
What is Tools Inspection?
Tools inspection refers to the systematic examination and assessment of tools, equipment, and machinery to ensure they are in good working condition, meet established standards, and are safe for use. This process involves checking for any wear, damage, defects, or abnormalities that might compromise the functionality or safety of the tool.
Regular inspection can help in the timely identification of issues, ensuring that the tools remain efficient and reliable during their operational life. Depending on the industry and the type of tool, inspections can range from simple visual checks to more in-depth diagnostic tests using specialized equipment.
Top 10 Benefits Of Tools Inspection
The inspection of tools offers many benefits, ensuring safety, efficiency, and longevity. Here are the top 10 benefits of tools inspection:
- Enhanced Safety: Regular inspections ensure that tools are properly working, reducing the risk of accidents caused by malfunctioning or worn-out equipment. Understanding power tool hazards and control measures is essential for reinforcing safety practices and minimizing potential risks during tool use.
- Prolonged Tool Lifespan: Detecting and rectifying issues early can extend a tool’s operational life, ensuring it delivers maximum value throughout its tenure.
- Consistent Performance: Regular inspections ensure tools function at peak performance, leading to consistent output quality and task efficiency.
- Cost Savings: Identifying and addressing tool issues early can prevent expensive repairs or replacements in the long run. It also reduces downtime, enhancing productivity.
- Compliance with Regulations: Many industries have regulatory requirements for tool maintenance and safety. Regular inspections ensure compliance, avoiding potential legal repercussions or fines.
- Enhanced Productivity: A well-maintained tool functions optimally, reducing task times and increasing overall productivity.
- Reduced Downtime: By identifying potential issues early, preventive actions can be taken, reducing unexpected breakdowns and associated downtime.
- Trust and Reliability: Knowing that tools have been inspected and are in top condition fosters trust among workers, ensuring they can rely on their equipment for their tasks.
- Data-driven Decisions: Documented inspection results provide valuable data, helping decision-making processes, such as when to replace tools or invest in newer technologies.
- Environmental Benefits: Well-maintained tools often operate more efficiently, consuming less power or resources and reducing waste, reducing environmental footprint.
Tool inspection is integral to operational management, safeguarding workers, optimizing processes, and ensuring the best returns on tool investments.
The Tools Inspection Procedure
The tools inspection procedure can vary depending on the type of tool, industry, and the regulatory standards in place. However, a general procedure can be outlined as follows:
1. Preparation
Before commencing the inspection, it’s essential to be equipped with the necessary inspection checklists or guidelines. These checklists often serve as a roadmap for the inspection, ensuring no crucial aspect is overlooked. Additionally, for the safety of the person conducting the inspection, the tool in question should be turned off and isolated from its power source.
This step prevents any unexpected start-ups or accidents. Lastly, safety cannot be compromised. Depending on the tool’s nature and potential hazards, wearing the appropriate personal protective equipment (PPE) like gloves, safety glasses, or hearing protection ensures that the inspector is safeguarded from possible injuries.
2. Visual Inspection
The first hands-on step in the inspection process is a comprehensive visual examination. This means observing the tool for any visible signs of wear, damage, or deformation that might render the tool unsafe or inefficient. Special attention should be given to signs of corrosion, which can weaken the tool’s structure or functionality.
Moreover, the presence of cracks or missing components could be indicators of heavy wear or past misuse. In the case of power tools, the integrity of cables and connectors is paramount. Frayed cables, damaged connectors, or exposed wires could impact the tool’s functionality and pose significant safety risks.
3. Functional Test
Once the visual examination is complete and any observed issues are noted, the tool can be powered on for a functional test. This step involves observing the tool’s operation, ensuring it performs as intended. Listening plays a critical role here – unusual noises or vibrations can be early indicators of internal problems or wear that isn’t immediately visible.
Furthermore, every switch, button, and control should be tested. A malfunctioning switch or a non-responsive control can be both an efficiency issue and a safety hazard.
4. Specific Test Procedures
Some tools have particular operational facets that need specialized testing. For instance, power tools might require electrical testing to ensure the integrity of their circuits, the absence of short circuits, or to check their resistance. Hydraulic tools, on the other hand, might undergo pressure tests to verify their ability to operate under specific pressures without leaking or failing.
5. Measurement and Calibration
Accuracy is vital for many tools, especially in precision tasks. Using gauges or specialized measuring devices can help assess whether a tool’s dimensions, angles or other crucial parameters are within acceptable ranges. Another crucial aspect is ensuring that these measuring tools themselves are calibrated. A miscalibrated measuring device can lead to incorrect readings, defeating an inspection’s purpose.
6. Cleaning and Lubrication
Cleaning the tool after the inspection is often a good practice. Removing debris, dirt, or residues ensures the tool functions optimally and extends its lifespan. Moreover, many tools require lubrication for smooth operation. Proper lubrication minimizes wear and tear, reducing the friction between moving parts. It’s essential to apply the right lubricant in the correct amount, following the manufacturer’s guidelines. This ensures the tool’s longevity and optimal performance.
7. Documentation
Proper documentation forms the backbone of any rigorous inspection process. Detailed records offer a snapshot of a tool’s health and condition during the inspection. It’s crucial to record all findings, including minor defects or anomalies. Such records help track the tool’s wear and tear over time, providing insights into its maintenance needs and lifespan.
Noting down the inspection date provides a timeline, aiding in scheduling subsequent inspections. The inspector’s name is essential for accountability and any potential follow-up discussions. Additionally, any recommendations made during the inspection or actions taken — whether they involve repairs, replacements, or simple maintenance tasks — should be diligently recorded. These notes serve as a roadmap for future reference, ensuring consistent care and maintenance of the tool.
8. Tagging
Once the inspection is completed, it’s essential to quickly convey the tool’s status to potential users. Attaching a tag or label can immediately determine the tool’s readiness. Such tags might indicate whether the tool passed the inspection, failed, or received a conditional pass, meaning it can be used but with certain reservations or for limited purposes. These labels are a visual and immediate reminder, ensuring that tools that might not be safe or optimal for use are easily identifiable.

9. Isolation or Quarantine
Safety and efficacy are paramount. If a tool does not pass the inspection, it becomes a potential hazard to the user or the task. Such tools need to be promptly isolated or quarantined. This means keeping them separate from the pool of functional tools, ensuring they are not inadvertently used. This step remains crucial until the tool is repaired, adjusted, or replaced.
10. Notification
A tool’s status is not just the inspector’s concern; it’s relevant to anyone who might use or depend on that tool. Consequently, it’s vital to notify the relevant personnel or departments about the inspection’s outcome. Especially if a tool is faulty, users and stakeholders should be informed to avoid its use and take necessary precautionary measures.
11. Follow-up Actions
Identification is just the first step; rectification is equally important. Any issues or defects identified during the inspection must be addressed without delay. Depending on the nature of the problem, this might involve repairing the tool, making certain adjustments to it, or, in extreme cases, replacing it entirely. Swift action ensures that tools are always in the best condition for use, upholding safety and efficiency standards.
12. Regularly Review Inspection Procedures
No procedure is perfect; with time, technologies evolve, new challenges emerge, and standards get revised. Hence, it’s essential to review and update the inspection procedure periodically. Feedback from inspectors, experiences from the field, the advent of new technologies, or changes in industry standards and regulations should all be considered. This continuous refinement ensures that the inspection procedure remains relevant, comprehensive, and effective in maintaining the highest tool safety and functionality standards.
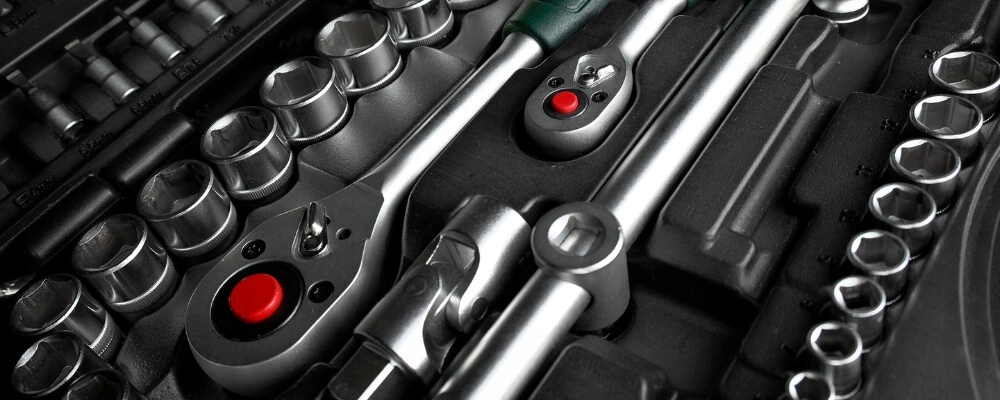
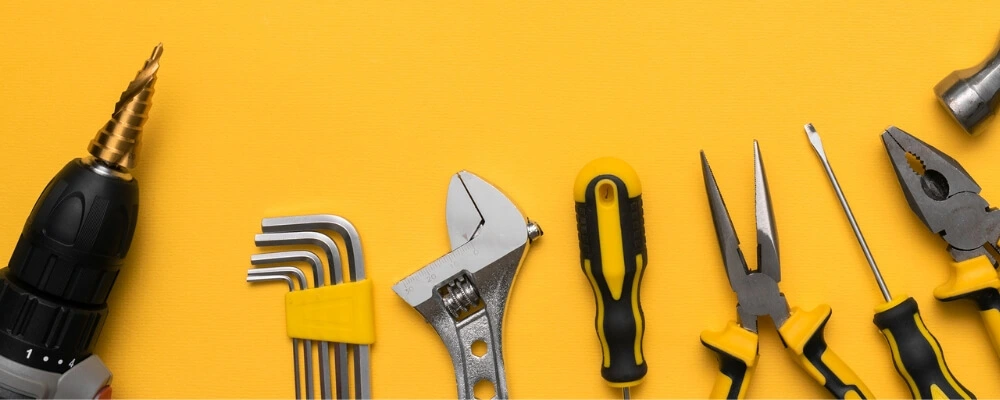
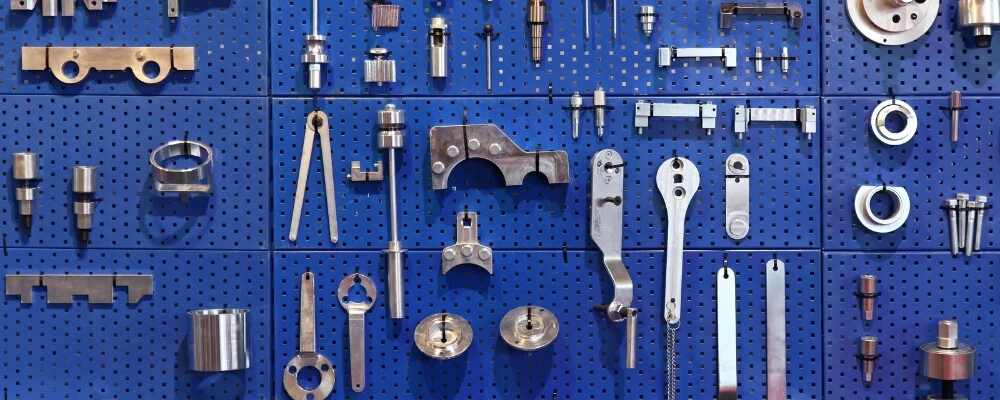
Tools Inspection 20 Points Checklist
Tool Identification: Ensure each tool has a unique identifier for tracking and management purposes.
- Visual Examination: Check for signs of wear, damage, or any visible deformations.
- Operational Test: Power on and operate the tool to ensure it functions as intended.
- Electrical Safety: For power tools, check cords for fraying, damage, and ensure proper grounding. Test for electrical continuity.
- Moving Parts: Ensure moving parts operate smoothly without obstructions or undue resistance.
- Secure Attachments: Confirm that all screws, bolts, and fittings are tight and in place.
- Ergonomics: Examine handles and grips for wear or damage to ensure comfortable and safe use.
- Lubrication: Check lubrication levels and ensure moving parts are adequately lubricated.
- Calibration: For precision tools, confirm that they are calibrated and display accurate measurements.
- Safety Features: Ensure safety guards, switches, and other protective features are functional and in place.
- Noise and Vibration: Listen for unusual sounds and excessive vibrations while operating, indicating possible internal issues.
- Temperature: Check if the tool overheats during operation, which could indicate wear or malfunction.
- Ventilation and Filters: For tools with ventilation systems or filters, confirm they are clean and unobstructed.
- Battery Condition: For battery-operated tools, inspect the battery for any swelling, leakage, or damage. Test its charge and discharge rates.
- Pressure Systems: Check hoses for wear for hydraulic or pneumatic tools and ensure they maintain proper pressure.
- Corrosion and Rust: Examine metal parts for signs of corrosion or rust that can affect performance or safety.
- Sharpness: For cutting tools, ensure edges are sharp and free from chips or nicks.
- Storage Condition: Confirm the tool’s storage conditions are appropriate, dry, and contaminant-free.
- Documentation: Ensure the tool’s manual or usage guidelines are available and review them for specific inspection points.
- Cleaning: After inspection, clean the tool of any debris, dust, or residues, ensuring it’s ready for use.
This checklist provides a thorough framework for inspecting various tools. Depending on the specific tool type or industry, some points might be more relevant than others, and additional checks may be needed.
Conclusion
Tools, the unsung heroes of countless projects and tasks, require our attention to remain effective and safe. We safeguard our tools, ourselves, and projects through a structured inspection procedure. The manifold benefits, ranging from enhanced safety to financial savings, underline the importance of regular tool maintenance.
Armed with our detailed 20-point checklist, you’re well-equipped to ensure every tool in your arsenal remains in peak condition. Remember, the longevity and efficiency of a tool often reflect the care it receives. Prioritize regular inspections, appreciate the myriad benefits, and let your tools be the reliable partners they’re meant to be in every endeavour.